What is Nextcloud?
Nextcloud is an excellent solution as a self-hosted alternative to Google Drive or Dropbox.
I’m not going to tell you why you should use Nextcloud. Instead, I will show you how to install a Nextcloud server using Docker containers.
This guide utilizes a Nginx reverse proxy configuration, which allows you to deploy your Nextcloud instance with SSL. This way, your Nextcloud deployment’s URL will use the HTTPS protocol, and file transfers will be secure.
Towards the end of the guide, I will share some tips for Linux cloud users to make deploying Nextcloud easier. Prerequisites
Before we proceed, you need to make sure a few things are in order. Here’s what you need:
- A Linux server
- Docker installed along with Docker Compose
- A registered domain
Deploying Nextcloud Server with Docker on a Reverse Proxy
Let’s go through the steps one by one.
Step 1: Set Up the Reverse Proxy
With a reverse proxy, you can deploy multiple web services on the same server. This is necessary because you need a Let’s Encrypt container to handle SSL.
There are two methods of configuring an Nginx reverse proxy.
Deployment of the reverse proxy should be done using a separate Compose file, so you can start or update network services without disrupting the reverse proxy configuration.
I’ve already prepared the Compose files in our public GitHub repository. Since this isn’t an in-depth article on reverse proxy deployment, I won’t delve into the Compose file details.
You can use Git to clone the repo:
git clone https://github.com/hakue1990/reverse-proxy-docker && \
	cd reverse-proxy-docker
There are three files here:
- env.example: Rename it to .env and change DEFAULT_EMAIL to your email address.
- max_upload_size.conf: This file ensures you can upload files up to 1 GB in size (default is 2 MB).
- docker-compose.yaml: The largest of them all, briefly discussed in the next paragraph.
Create a Docker network named net. It will be used in the docker-compose.yaml file.
docker network create net
The docker-compose file looks like this:
version: "3.3"

services:

    NginxProxy:
        image: "jwilder/nginx-proxy:latest"

        volumes:
            - "NPhtml:/usr/share/nginx/html"
            - "NPdhparam:/etc/nginx/dhparam"
            - "NPvhost:/etc/nginx/vhost.d"
            - "NPcerts:/etc/nginx/certs:ro"
            - "/var/run/docker.sock:/tmp/docker.sock:ro"
            - "./client_max_upload_size.conf:/etc/nginx/conf.d/client_max_upload_size.conf"

        labels:
            - "com.github.jrcs.letsencrypt_nginx_proxy_companion.nginx_proxy"
        restart: "on-failure"
        networks: ["net"]

        ports:
            - "80:80"
            - "443:443"

    LetsencryptCompanion:
        image: "jrcs/letsencrypt-nginx-proxy-companion:latest"

        volumes:
            - "LCacme:/etc/acme.sh"
            - "NPvhost:/etc/nginx/vhost.d"
            - "NPcerts:/etc/nginx/certs"
            - "NPhtml:/usr/share/nginx/html"
            - "/var/run/docker.sock:/var/run/docker.sock:ro"

        environment:
            - DEFAULT_EMAIL

        depends_on: ["NginxProxy"]
        restart: "on-failure"
        networks: ["net"]


volumes:
    NPhtml:
    NPdhparam:
    NPvhost:
    NPcerts:
    LCacme:

networks:
    net:
        external: true
Finally, deploy the containers:
docker-compose up -d
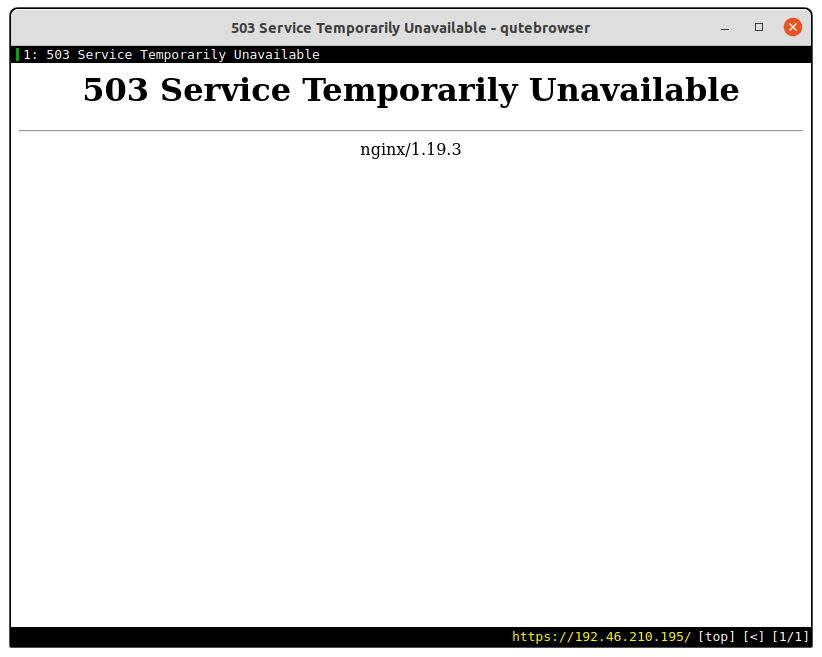
Upon successful deployment, when you visit the server’s IP address where your reverse proxy is hosted, you will see the following message:

This is okay - we haven’t deployed any web applications yet.
Step 2: Deploy NextCloud
There are two components: one is the database, and the other is the Nextcloud frontend.
For the backend database, any MySQL-based database will work. I’m choosing MariaDB, especially image tag (version) 10.5.9.
For Nextcloud, I’ll use version 21.0.0, which is the latest version at the time of writing this article.
Therefore, the images used are:
mariadb:10.5.9
nextcloud:21.0.0
If you’re using this tutorial in the future and there’s a newer version of Nextcloud and MariaDB, use them.
You can either clone the GitHub repository or simply download the necessary files:
git clone https://github.com/hakue1990/nextcloud-docker-compose.git && \
cd nextcloud-docker
Then copy the env.example file and rename it to .env, and set the environment variables within it:
cp env.example .env
1. NCDatabase
The NCDatabase service looks like this:
NCDatabase:
	image: "mariadb:10.5.9"

	volumes:
		- "NCMariaDB:/var/lib/mysql"

	environment:
		- MYSQL_ROOT_PASSWORD
		- MYSQL_RANDOM_ROOT_PASSWORD
		- MYSQL_DATABASE
		- MYSQL_USER
		- MYSQL_PASSWORD

	restart: "on-failure"
	networks: ["common"]
- Image: “mariadb:10.5.9”
- Volumes: NCMariaDB:/var/lib/mysql - for persistent data, a volume named NCMariaDB is used, which is bound to /var/lib/mysql where MariaDB stores its data.
- Environment - environment variables defined in the .env file.
- Restart: “on-failure” - the container will be automatically restarted in case its main process fails.
- Networks: [“common”] - a network between the database container and the frontend service for communication between them.
2. NCFrontend
NCFrontend:
	image: "nextcloud:21.0.0"

	volumes:
	  - "NCData:/var/www/html"

	environment:
		- LETSENCRYPT_HOST
		- VIRTUAL_HOST
		- TRUSTED_PROXIES
		- OVERWRITEPROTOCOL
		- MYSQL_DATABASE
		- MYSQL_USER
		- MYSQL_PASSWORD
		- MYSQL_HOST
		- SMTP_HOST
		- SMTP_PORT
		- SMTP_NAME
		- SMTP_PASSWORD
		- MAIL_FROM_ADDRESS
		- NEXTCLOUD_TRUSTED_DOMAINS
		- NEXTCLOUD_ADMIN_USER
		- NEXTCLOUD_ADMIN_PASSWORD

	depends_on:
		- "NCDatabase"
	networks: ["net", "common"]
- Image: nextcloud:21.0.0
- Volumes: **NCData:/var
/www/html** - to ensure data safety and prevent loss during a simple container restart, data is stored persistently in the NCData volume, mapped to /var/www/html inside the container.
- Networks: [“net”, “common”] - two networks: net for reverse-proxy, and common for communication between the database and Nextcloud.
Environment variables:
Open the .env file (the same one you used for MariaDB) in your favorite text editor and start changing the values as the following:
LETSENCRYPT_HOST, VIRTUAL_HOST, and NEXTCLOUD_TRUSTED_DOMAINS: Set these to the domain/subdomain you want to host your Nextcloud instance on.
TRUSTED_PROXIES: The subnet of the network, shared by the reverse proxy and this frontend. You can get the subnet using the following command (make sure jq is installed):
docker inspect -f '{{ json .IPAM.Config }}' net | jq -r .[].Subnet
OVERWRITEPROTOCOL: The overwriteprotocol parameter is used to set the protocol of the proxy. As we’re using HTTPS, set this to HTTPS.
Volumes
In this network, two internal volumes are defined: NCMariaDB for MariaDB and NCData for Nextcloud. Whether you want to keep them internal or external is up to you.
volumes:
  NCMariaDB:
    external: true
  NCData:
    external: true
Then create the volumes:
for volume in NCMariaDB NCData; do
  docker volume create ${volume}
done
Networks
Two networks are defined. One is for the frontend and reverse proxy, and the other one is for the frontend and backend to be able to communicate.
The database container and Nextcloud frontend share a common network named “common,” enabling communication between the two containers. You can make this internal, which would limit the database container’s access to the public internet, but I’m not sure of the advantages you might gain from this.
Nevertheless, if you want to do this, it should look like this:
networks:
	net:
	    external: true
	common:
		internal: true
Deploy Nextcloud
docker-compose up -d
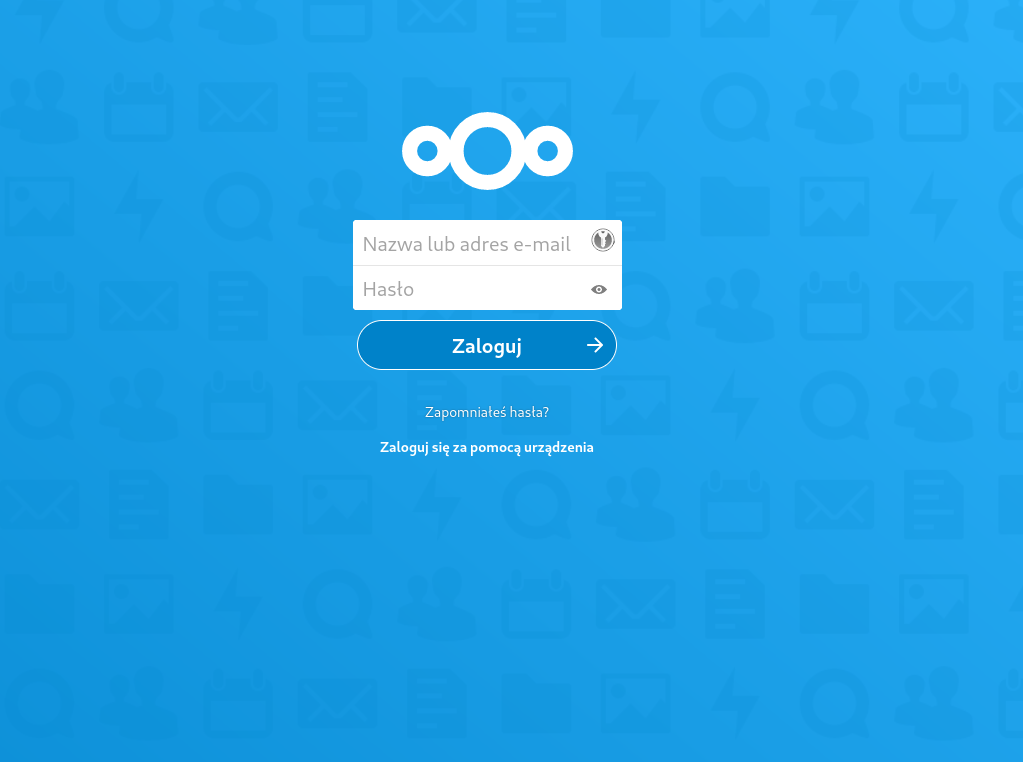
If everything goes as planned, you will see your NextCloud application in a Docker container:

This concludes your Nextcloud deployment.
